


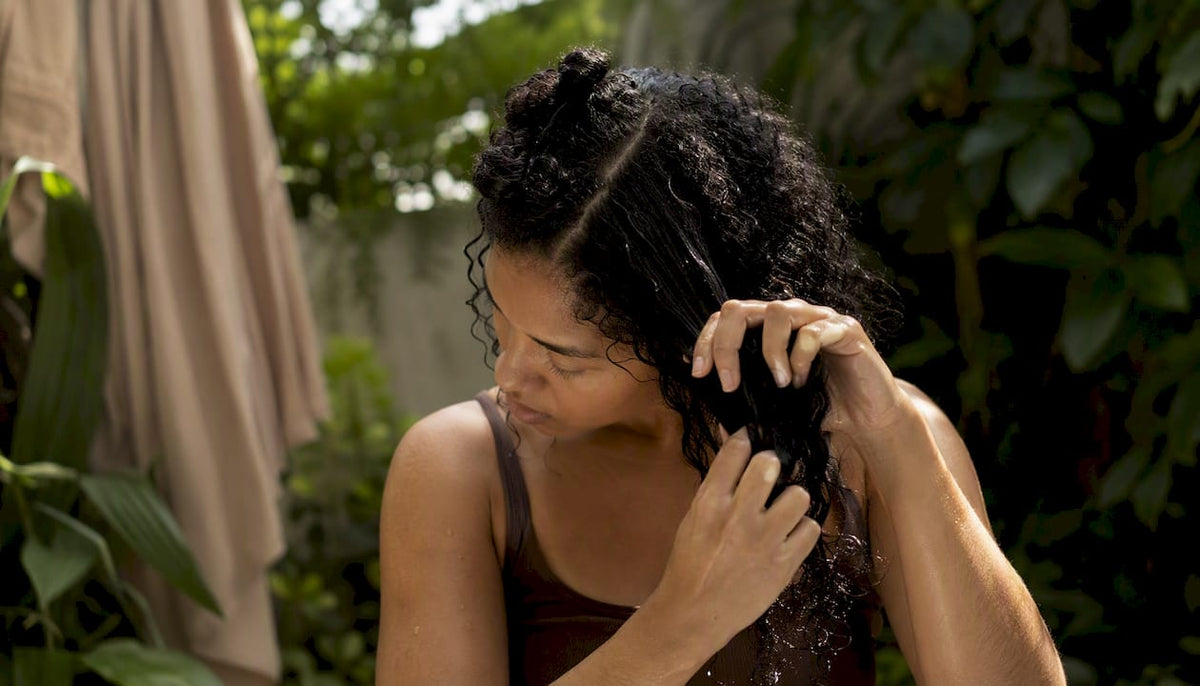
A complete wash day runs six steps: pre-poo and detangle, wet and section, shampoo the scalp, deep condition, apply leave-in and seal with the LOC or LCO method, then dry and style. Total time varies depending on your hair’s length and density. Experts confirm that curly, coily, and afro-textured hair needs gentle, sulfate-free cleansers throughout, since harsh surfactants strip natural oils and increase breakage. Here is the full routine, with timing, technique, and product guidance at every step.
Quick wash day checklist:
- Pre-poo: apply oil or treatment, cover, wait 20–60 min
- Section and wet: 4–8 sections, lukewarm water, 5–10 min
- Shampoo scalp: small amount, circular massage 2–3 min, let runoff clean lengths
- Deep condition: detangle ends to roots under conditioner, 15–45 min (heat optional)
- Leave-in + seal: LOC or LCO layering, section by section, 10–15 min
- Dry and style: plop, diffuse, or air-dry; protective style to finish
Key Takeaways
A complete wash day for natural, curly, or afro-textured hair runs six steps in order: pre-poo, section and wet, scalp-focused shampoo, deep condition with detangling, leave-in plus seal, and dry and style.
| Point | Details |
|---|---|
| Follow the six-step order | Pre-poo → wet and section → shampoo scalp → deep condition → leave-in and seal → dry and style. |
| Scalp drives wash frequency | Base how often you wash on scalp condition, not curl pattern; oily scalps need 2–3 days, coily or dry hair every 1–2 weeks. |
| Detangle under conditioner only | Always detangle on conditioner-coated, damp hair, working from ends to roots, to prevent breakage. |
| Match products to your porosity | Low porosity needs lightweight oils and heat during deep conditioning; high porosity benefits from richer butters and protein masks. |
| Cocomera for curated picks | Cocomera’s collections cover every wash day step, from sulfate-free shampoos to sealing oils, curated for wavy, curly, coily, and afro hair. |
Table of Contents
- What to gather before your wash day routine steps begin
- Step 1 — Why pre-poo protects your hair before shampooing
- Step 2 — How to wet and section your hair for manageable washing
- Step 3 — How to shampoo your scalp without drying out your lengths
- Step 4 — Deep conditioning and detangling under conditioner
- Step 5 — How to apply leave-in, layer moisture, and seal with LOC or LCO
- Step 6 — Drying and styling: plopping, diffusing, and protective styles
- How often should you have a wash day?
- Common wash day mistakes and how to fix them
- Expert tips on scalp health plus Cocomera’s product picks
- Sources
What to gather before your wash day routine steps begin
Getting everything ready before you wet your hair saves time and prevents the mid-routine scramble that leads to rushed detangling and breakage. Set out every product and tool before you start.
Products to have on hand:
- Sulfate-free shampoo or co-wash
- Deep conditioner or hair mask
- Leave-in conditioner
- Sealing oil or cream (lightweight for low porosity, heavier butter for high porosity)
- Wide-tooth comb
- Microfiber towel or a clean cotton T-shirt
- Sectioning clips (at least 4–8)
- Plastic cap or hooded dryer cap
When choosing products, look for “sulfate-free” on the label for your shampoo. For conditioners, prioritize slip (the slippery feel that lets a comb glide through) and check whether the formula leans toward humectants (glycerin, aloe) for moisture or proteins (hydrolyzed keratin, silk amino acids) for strength. Low-porosity hair tends to resist heavy creams, so lighter leave-ins and oils like argan or jojoba work better. High-porosity hair drinks up richer butters and heavier sealants like castor oil or shea butter.
Pro Tip: Pre-mix your shampoo with a small amount of water in an applicator bottle before wash day. This dilutes the formula, makes it easier to spread across sections, and reduces the amount of product you need, which means less stripping and less waste.
Step 1 — Why pre-poo protects your hair before shampooing
Pre-poo means applying an oil or treatment to dry hair before shampoo touches it. The goal is to reduce hygral fatigue, which is the swelling and contracting that happens when dry hair absorbs water too fast. Pre-poo protects hair from hygral fatigue and cuts down on mechanical damage during wash day. Most naturals pre-poo for a moderate duration, and overnight works too.
How to pre-poo step by step:
- Divide dry hair into 4–6 sections and clip each one.
- Apply a generous amount of oil (coconut, olive, or avocado) or a water-based pre-poo treatment to each section, focusing on the ends.
- Smooth the product down the length of each section from mid-shaft to tip.
- Cover with a plastic cap to trap warmth and help absorption.
- Wait 20–60 minutes. For very dry or high-porosity hair, overnight under a satin cap works well.
- Before rinsing, finger-detangle each section gently, then follow with a wide-tooth comb working from ends up to roots.
The pre-poo step shortens the time you spend detangling under conditioner later, and it protects ends from the drying effect of shampoo. If your hair is fine or low-porosity, a lighter oil like grapeseed or a water-based treatment prevents buildup better than a heavy butter.
Step 2 — How to wet and section your hair for manageable washing
Proper sectioning before water hits your hair is one of the most underrated wash day procedures. It keeps hair from tangling into one mass under the shower, gives you scalp access for thorough cleansing, and makes product distribution even.
Divide hair into 4–8 sections depending on density and length. Thicker, denser hair benefits from 6–8 sections; finer or shorter hair manages fine with 4. Clip each section before stepping under water.
Wet hair thoroughly using lukewarm water. Hot water forces the cuticle open aggressively, which increases moisture loss and can leave hair feeling rough after drying. Cold water keeps the cuticle too tight for shampoo to penetrate the scalp effectively. Lukewarm sits in the middle: it opens the cuticle enough for cleansing and product absorption without stripping moisture. Core wash steps start with thorough wetting before any product is applied.
If you pre-mixed your shampoo with water in an applicator bottle (see the prep tip above), you are already set for the next step. If not, pour a small amount of shampoo into your palm and add a few drops of water before applying.
Step 3 — How to shampoo your scalp without drying out your lengths
The scalp is what you are actually cleaning during shampoo. The lengths and ends get cleaned by the runoff as you rinse, and that is enough. Applying shampoo directly to the lengths strips moisture from already-dry strands.
Use a small amount of sulfate-free shampoo per section. Apply it directly to the scalp in each section and leave the lengths alone.
Scalp massage technique: Use the pads of your fingers (never your nails) and work in small circular motions from the hairline toward the nape. A proper scalp massage with finger pads in circular motions helps loosen buildup and may support a healthy environment for hair growth. Spend about 2–3 minutes total. This loosens dead skin, product residue, and sebum so the shampoo can actually remove them.
Rinse thoroughly, then let the water carry the shampoo runoff down the lengths.
When to do a two-step wash:
- First pass: apply a clarifying shampoo to the scalp only, massage 1–2 minutes, rinse.
- Second pass: apply a gentler sulfate-free shampoo or co-wash to the scalp, massage briefly, rinse.
Use this two-step approach when you have heavy product buildup from styling gels, oils, or butters. Clarifying shampoos are useful for a reset but should be used sparingly, since they are more stripping than a regular cleanser. Once a month is a reasonable starting point for most curl types.
Pro Tip: If your scalp feels tight or itchy after shampooing, your shampoo may be too harsh for your texture. Switch to a sulfate-free shampoo formulated for curly or coily hair and see if the feeling resolves within two wash days.
Step 4 — Deep conditioning and detangling under conditioner
Deep conditioning is where moisture gets restored after shampooing, and it is also the safest time to detangle. Conditioner provides slip, which dramatically reduces the friction that causes breakage when a comb moves through tangled hair.
Apply your deep conditioner or hair mask generously to each section, coating from mid-length to ends. Do not apply it to the scalp, since conditioner residue on the scalp can clog follicles and cause buildup.
Detangling order: Start at the ends, work through mid-lengths, then move toward the roots. Use your fingers first to break apart larger tangles, then follow with a wide-tooth comb. This sequence prevents you from dragging knots down the length of the hair shaft, which is where most breakage happens.
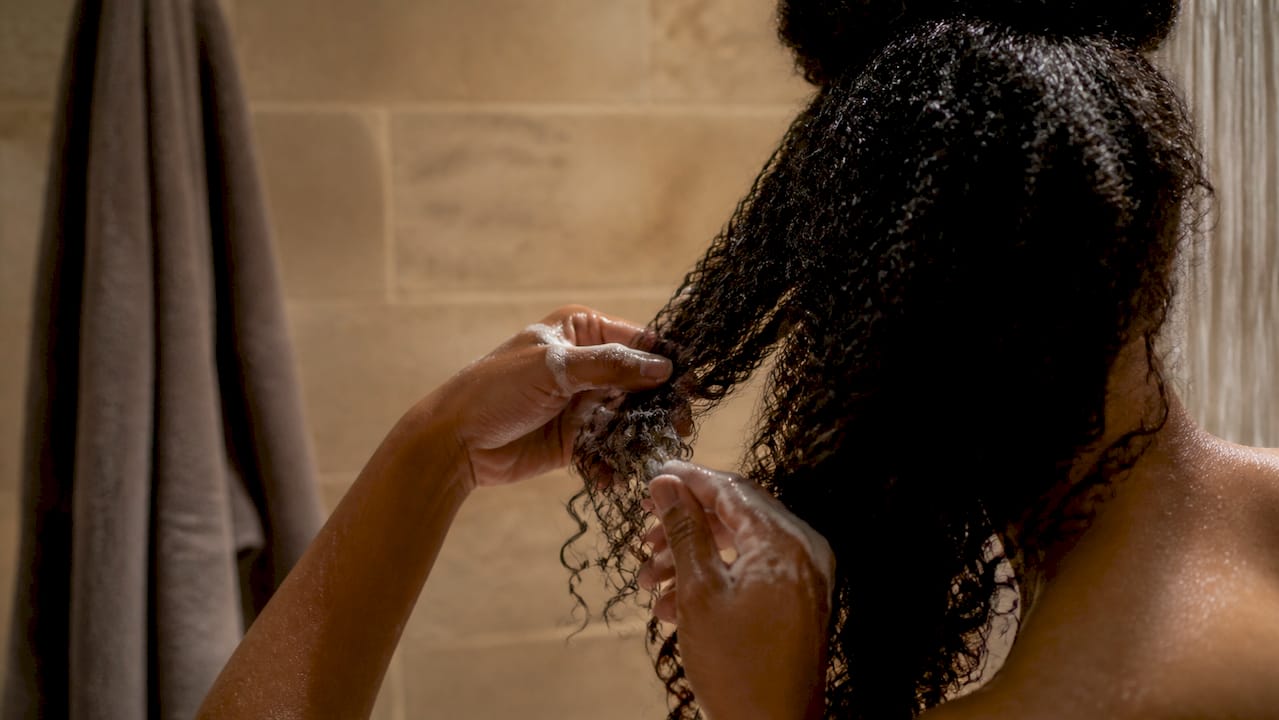
Porosity matters here. Low-porosity hair has a tight cuticle that resists moisture, so heat helps the conditioner penetrate. High-porosity hair absorbs quickly but loses moisture just as fast, so a protein-rich mask followed by a moisture mask works well.
| Treatment type | Leave time | Heat? | Best for |
|---|---|---|---|
| Quick rinse-out | 5–10 min | No | Fine or low-density hair, co-wash days |
| Standard deep condition | 15–30 min | Optional (plastic cap + body heat) | Most curl types, weekly use |
| Intensive treatment | 20–45+ min | Yes (hooded dryer or steamer) | High porosity, dry or damaged hair |
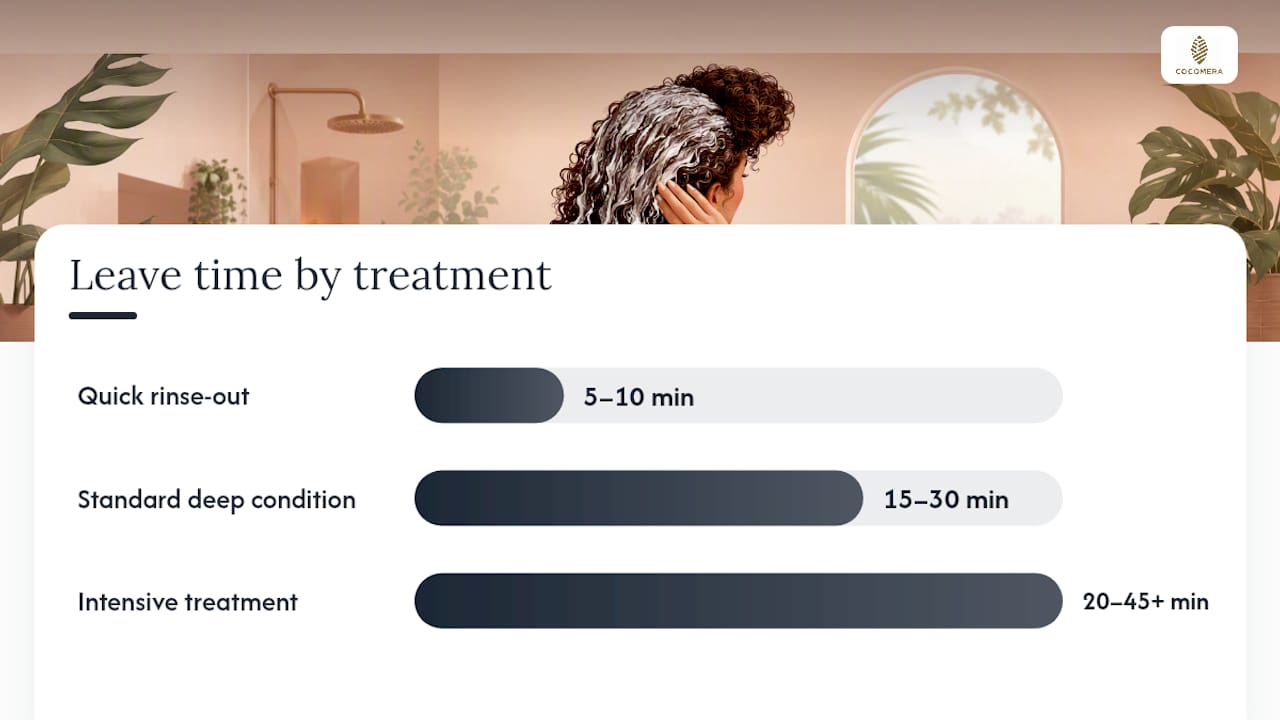
A hooded dryer or hair steamer gives the most consistent heat penetration. A plastic cap traps your own body heat and works well for standard treatments. For a step-by-step guide to hair masking, including timing by hair type, Cocomera’s guide covers the process in detail.
Rinse with lukewarm water until the water runs clear. Finish with a brief cool-water rinse to help close the cuticle and add shine.
Step 5 — How to apply leave-in, layer moisture, and seal with LOC or LCO
Once you rinse out the deep conditioner, your hair is damp and the cuticle is open. This is the window for layering moisture. The two main methods are LOC (Liquid, Oil, Cream) and LCO (Liquid, Cream, Oil).
LOC layers a water-based leave-in first, then oil to slow moisture evaporation, then a cream to lock everything in. It tends to give longer hold and works well for high-porosity hair that loses moisture quickly.
LCO applies the cream before the oil, which gives a softer, lighter feel. Low-porosity hair often does better with LCO because the cream sits closer to the hair shaft before the oil seals it, reducing the heaviness that can come from oil sitting on a tight cuticle.
How to apply, section by section:
- Leave-in conditioner: dime-to-quarter-sized amount per section, smoothed from mid-length to ends, then gently worked toward roots.
- Oil: a few drops per section, palmed and pressed into the hair rather than poured on top.
- Cream or butter: quarter-sized amount per section for dense hair, less for fine hair.
Work through each clipped section before moving to the next. This keeps hair from drying out unevenly. For leave-in and styling products suited to textured hair, Cocomera carries a curated range organized by curl type.
If hair feels greasy after sealing, you are likely using too much oil or a sealant that is too heavy for your porosity. Try halving the oil amount or switching to a lighter option like argan or sweet almond oil. If hair feels dry within hours, the sealant is too light or you skipped the leave-in layer.
Step 6 — Drying and styling: plopping, diffusing, and protective styles
How you dry your hair matters as much as how you wash it. Rough towel-drying with a regular cotton towel creates friction along the cuticle and is one of the fastest ways to introduce frizz.
Plopping is the go-to method for curl definition. Lay a microfiber towel or cotton T-shirt flat, flip your hair forward onto it, wrap the sides up and secure at the nape, and leave it for 15–30 minutes. This removes excess water while keeping curls clumped together. A microfiber towel or T-shirt creates far less friction than a standard terry cloth towel.
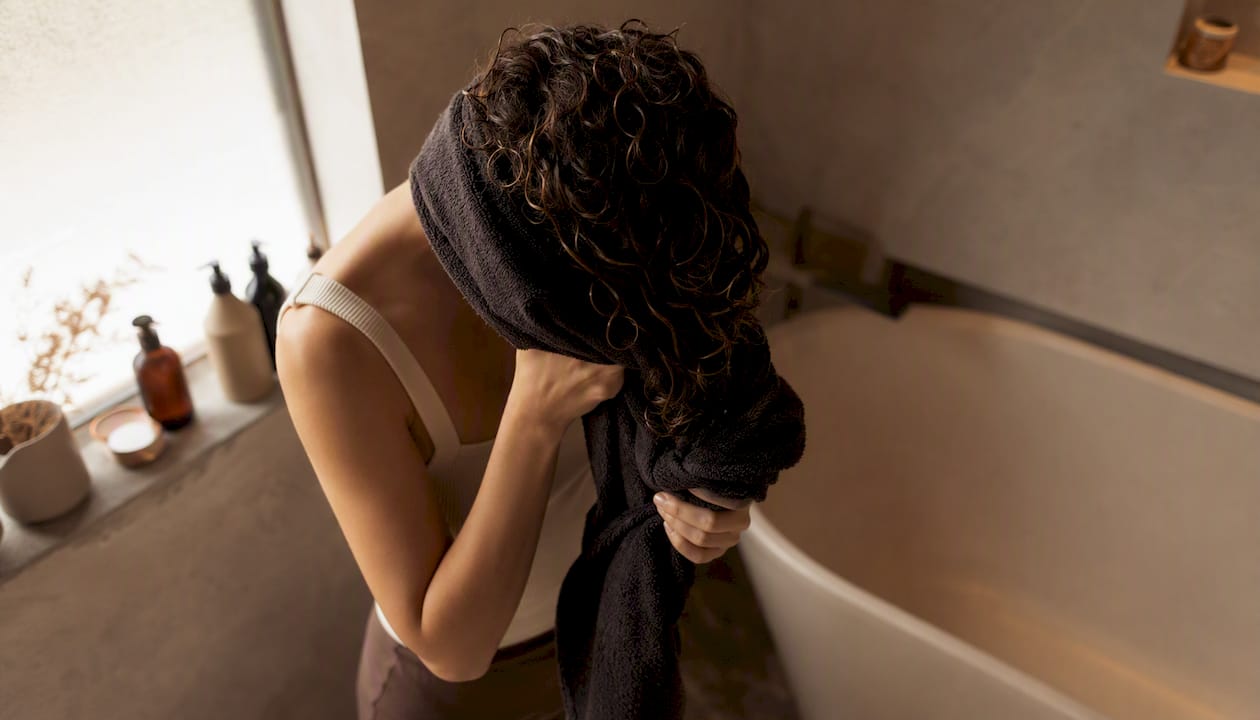
Diffusing speeds up drying without disrupting curl pattern. Use the lowest heat and airflow setting your dryer allows. Cup sections of hair into the diffuser bowl and hold for 30–60 seconds before moving to the next section. Avoid moving the diffuser constantly, since that breaks up curl clumps and creates frizz.
Air-drying works well but requires patience. The key rule: do not touch your hair while it dries. Every time you run your fingers through damp hair, you separate curl clumps and create frizz. Apply a gel or curl cream on soaking-wet hair before you start air-drying to hold the curl pattern as it sets.
Once hair is fully dry, scrunch out the crunch (SOTC) if you used a gel. Scrunch upward from the ends to break the cast the gel formed, which leaves soft, defined curls without stiffness.
For nights between wash days, protect your style with a satin or silk bonnet, pillowcase, or scarf. To refresh curls mid-week, lightly mist with water or a diluted leave-in spray, scrunch, and let air-dry.
Protective styles like twists, braids, or a pineapple bun extend your style and reduce daily manipulation. These work best when hair is fully dry to prevent mildew or odor from trapped moisture.
How often should you have a wash day?
Wash frequency should be set by your scalp condition rather than hair texture alone. A healthy scalp supports hair growth and prevents buildup and inflammation. Texture matters for how you wash, but the scalp drives when.
| Scalp type / hair pattern | Suggested frequency | Notes |
|---|---|---|
| Oily scalp (any texture) | Every 2–3 days | Buildup accumulates fast; co-wash between full washes |
| Normal scalp, wavy or loose curls (2A–3A) | Once a week | Adjust if scalp feels itchy or hair looks dull |
| Normal scalp, curly or coily (3B–4B) | Every few days | Deep condition every wash day |
| Dry scalp, coily or afro-textured (4C) | Every 1–2 weeks | Clarify once a month; co-wash between full washes |
| Heavy product user (any texture) | Add clarifying wash monthly | Buildup from butters and gels needs a reset |
Oily scalps may need washing every 2–3 days while dry or coily hair often does well with washing once every 1–2 weeks. These are starting points, not rules. Your scalp tells you when it needs attention.
Signs you need a wash day sooner than scheduled: persistent itchiness, visible white or yellow flakes that return after clarifying, a sour or musty odor at the roots, or hair that feels coated and refuses to absorb moisture.
Cold weather and low humidity pull moisture from hair faster, so you may need to add a co-wash between full wash days in winter. Heavy exercise that causes significant scalp sweating is another reason to cleanse sooner, even if you skip the full deep-conditioning step.
Common wash day mistakes and how to fix them
Most wash day problems trace back to a handful of repeatable errors. Recognizing them is the fastest way to stop the damage cycle.
- Detangling dry hair: Dry detangling snaps strands. Always detangle under conditioner or on pre-pooed, damp hair. If you must detangle dry, use a detangling spray and work in tiny sections.
- Using hot water: Hot water strips the cuticle and leaves hair feeling rough and dry. Stick to lukewarm throughout and finish with a cool rinse.
- Skipping deep conditioning: A quick rinse-out conditioner is not a substitute for a deep treatment. Skipping it regularly leads to chronic dryness and increased breakage, especially for coily and afro-textured hair.
- Over-washing: Washing too frequently strips natural oils faster than the scalp can replenish them. If your hair feels dry within a day of washing, reduce frequency before changing products.
- Applying conditioner to the scalp: Conditioner on the scalp causes buildup and can contribute to flaking. Keep it from mid-length to ends.
- Rushing the rinse: Conditioner left in hair weighs it down and causes buildup. Rinse until the water runs completely clear.
Red flags that need professional attention: scalp inflammation that does not resolve after switching to a gentle shampoo, persistent flaking after clarifying (which may indicate seborrheic dermatitis rather than product buildup), or excessive breakage that continues despite consistent deep conditioning and gentle detangling. A trichologist or dermatologist can assess scalp conditions that routine changes cannot fix.
Quick troubleshooting:
- Frizzy twist-out: Hair was not fully moisturized before twisting, or it dried in a low-humidity environment. Add more leave-in next time and plop longer before twisting.
- Weighed-down hair: Too much product or a sealant too heavy for your porosity. Halve the amount of cream or butter and clarify to reset.
- Uneven moisturization: Products were applied to large sections. Divide into smaller sections and work product in more thoroughly from roots to ends.
Expert tips on scalp health plus Cocomera’s product picks
Trichologist guidance consistently points to one principle: treat the scalp first and let the hair follow. Set your wash frequency based on how your scalp feels, not on what your curl pattern “should” need. A scalp massage before or during shampooing loosens dead skin and product residue, making both clarifying and regular shampoos more effective. Use finger pads, not nails, in circular motions from the hairline to the nape for 2–3 minutes. This technique supports a healthy scalp environment and can improve how well your cleanser removes buildup.
Cocomera’s recommended product picks for textured hair:
- Sulfate-free shampoo: Look for a formula that cleans the scalp without stripping. Cocomera’s strengthening shampoo collection is curated specifically for wavy, curly, coily, and afro hair.
- Deep conditioner or mask: Choose a moisture-focused mask for weekly use and a protein-rich mask for monthly strengthening. Cocomera’s hair mask collection covers both.
- Leave-in conditioner: Lightweight for low porosity, richer for high porosity. Apply to damp hair immediately after rinsing.
- Sealing oil or cream: Lightweight oils (argan, jojoba) for low porosity; heavier butters or hair oils like castor or shea for high porosity.
- Wide-tooth comb: Use only on conditioner-coated hair, working from ends to roots.
- Microfiber towel or T-shirt: Replaces terry cloth for drying; reduces friction and frizz significantly.
Quick porosity guide for choosing products:
- Low porosity: lightweight liquids, heat during deep conditioning, avoid heavy butters
- Medium porosity: most products work; balance moisture and protein
- High porosity: rich creams, heavier oils, protein treatments monthly
Pro Tip: When trying a new product, buy the smallest available size first. Patch-test on one section of hair for two wash days before committing to a full routine change. Textured hair responds differently to formulas, and what works for one curl pattern may weigh down another.
What consistency actually does for your curls
The most common mistake people make with wash day is treating it as a one-time fix rather than a repeating system. One great wash day does not transform your hair. Twelve consistent ones do.
When you follow the same order, use the same timing, and layer products the same way every wash day, your hair starts to respond predictably. Curl definition improves not because the products get better, but because the hair is consistently moisturized, sealed, and protected at the right intervals. Breakage drops for the same reason: detangling under conditioner, every time, removes the main mechanical stress point.
The practical advice here is to start with one change per wash day, not five. If your hair is chronically dry, fix the deep conditioning step first. If breakage is the issue, address detangling technique before changing products. Layering too many new variables at once makes it impossible to know what is working. Consistent routines reduce breakage and improve curl definition over time, and that outcome is built wash day by wash day, not in a single session.
Cocomera’s curated wash day picks for textured hair
Every step in this routine works better when the products are chosen for your specific curl type. Cocomera curates wash day bundles and individual picks for wavy, curly, coily, and afro hair, so you are not sorting through hundreds of generic options to find what actually fits your texture.
A complete wash day kit typically pairs a sulfate-free shampoo, a deep conditioning mask, a leave-in, a sealing oil, and a wide-tooth comb. Cocomera’s hair treatments collection and styling products cover every layer of the LOC and LCO method, with options across porosity levels and hold preferences. If your routine needs adjusting for porosity or a different hold level, swapping one product at a time is easy when everything is sourced from one place.
Browse Cocomera’s full wash day range at Cocomera and find the combination that fits your curl pattern.
Sources
The sources below back the guidance in this article. Each one covers a different angle of the routine.
- The Right Way to Wash Your Hair
- How to Wash Your Hair
- The best science-backed way to wash your hair
- How to Wash Your Hair: Methods for Your Hair Type


