


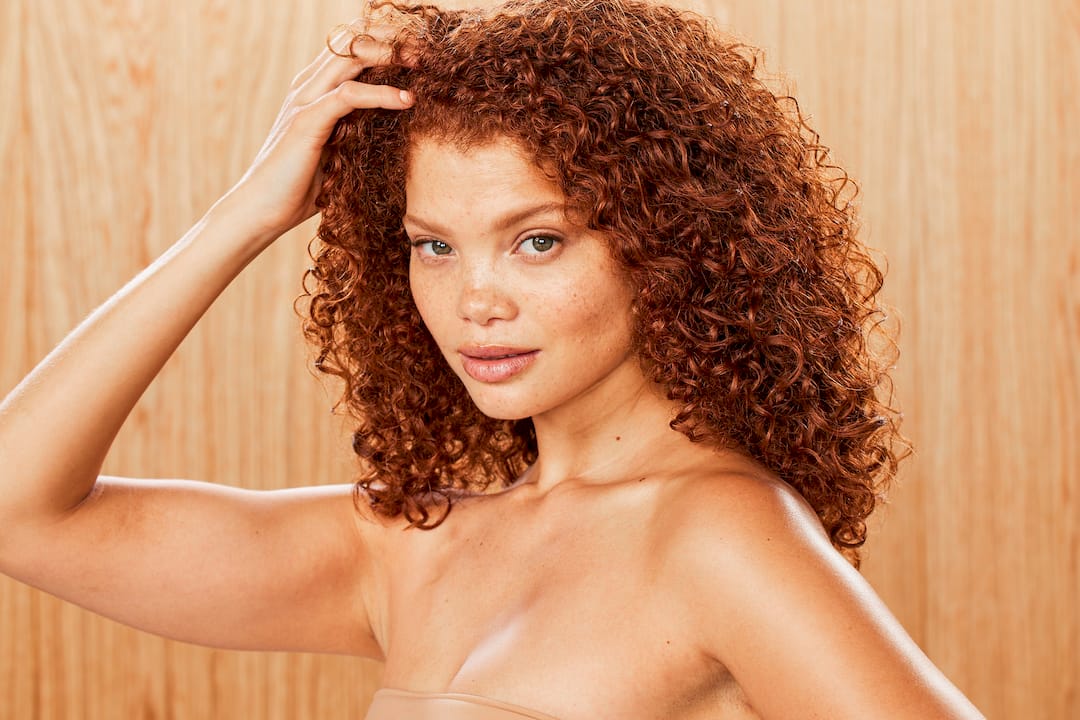
TL;DR:
- Proper curl conditioning requires personalized routines based on hair type and porosity to maintain moisture balance. Using the right products and techniques, such as squishing conditioner into wet curls and regular clarifying, ensures healthy, defined curls. Consistent application of these practices produces better results than elaborate or misaligned routines.
The conditioning process for curl types is defined as a customized approach to moisturizing, detangling, and strengthening curly hair based on your specific curl pattern and hair porosity. A one-size-fits-all conditioner routine fails textured hair because Type 2 waves, Type 3 curls, and Type 4 coils each absorb and retain moisture differently. Getting this right means understanding two things before you buy a single product: your curl classification and your porosity level. Nail those two, and every other decision in your curl care routine becomes much clearer.
What is the conditioning process for curl types?
The conditioning process for curly hair is not just about applying product. It is a system built around your curl pattern, porosity, and the moisture-hold balance your hair needs to stay defined and healthy.
Understanding curl types: Type 2, 3, and 4
Curl patterns fall into three broad categories that directly shape how you condition. Type 2 hair forms loose S-shaped waves and tends to sit closer to the scalp, making it prone to going flat with too much product. Type 3 curls range from loose spirals to tight corkscrews and need consistent moisture to stay bouncy and defined. Type 4 coils are the tightest and most fragile, with the least natural sebum distribution from root to tip.
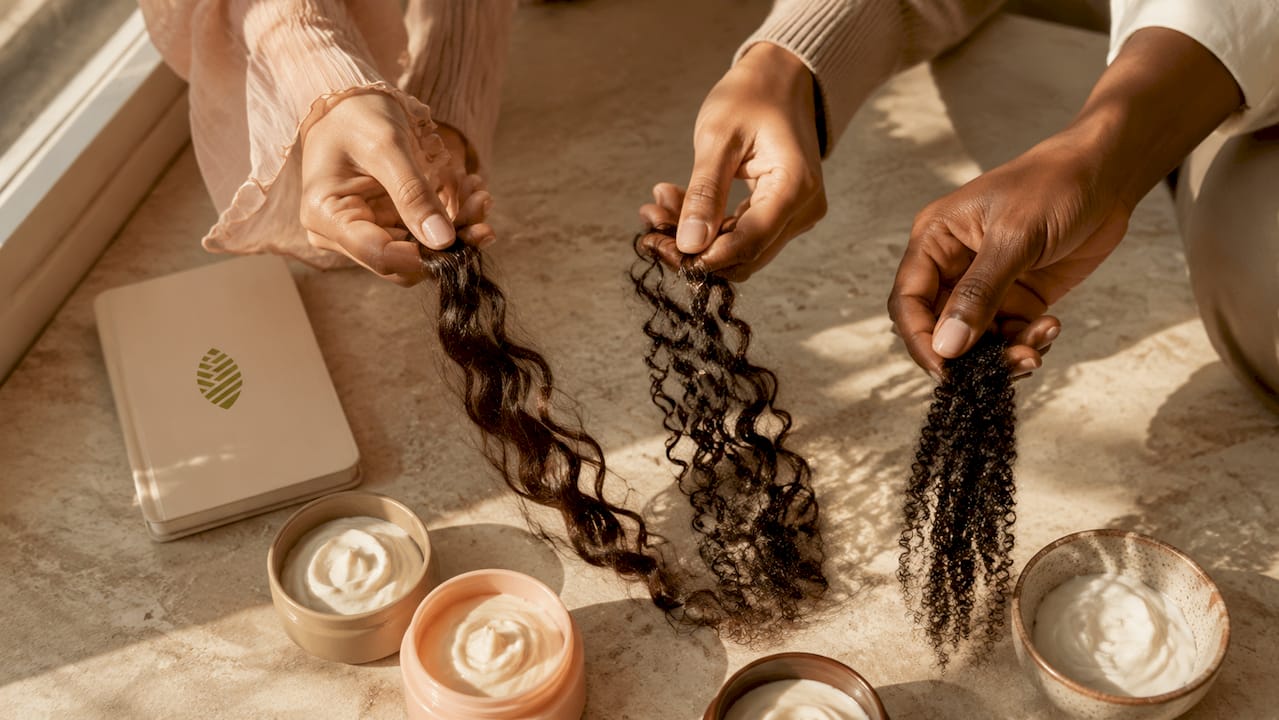
Each type responds differently to conditioning frequency and product weight. A heavy cream that transforms Type 4 coils can weigh down Type 2 waves completely. Knowing your type stops you from borrowing routines that were never built for your hair.
How to test your hair porosity
Porosity describes how easily your hair absorbs and holds moisture. Low porosity hair has tightly closed cuticles that resist water and product. High porosity hair has gaps in the cuticle that absorb moisture fast but lose it just as quickly.
The float test is the simplest method: drop a clean strand into a glass of water. If it floats, porosity is low. If it sinks quickly, porosity is high. Medium porosity sits in the middle and is the easiest to work with.
Porosity changes how you condition. Low porosity hair needs heat to open the cuticle during deep treatments. High porosity hair benefits from protein-rich or heavier conditioners that fill in those gaps and seal moisture in.
Pro Tip: If your hair takes forever to get fully wet in the shower, you likely have low porosity. Apply conditioner to soaking-wet hair so the water helps carry the product in.
How do you choose the best conditioners for curls?
The right conditioner depends on your curl type, porosity, and what role that product plays in your routine. Rinse-out conditioners, leave-ins, and deep conditioners each serve a different purpose and should not be swapped interchangeably.
Ingredients that work and ones to skip
Conditioners with high slip are the foundation of good detangling. Marshmallow root is one of the best examples. It coats the hair shaft with a slippery layer that lets a wide-tooth comb move through tangles without snapping strands. Botanical extracts like this support healthy curls while reducing breakage during detangling.
Ingredients to avoid are just as important. Harsh sulfates strip the natural oils that textured hair already struggles to retain. Drying alcohols like isopropyl alcohol evaporate fast and leave hair brittle. Heavy waxes coat the shaft without penetrating it, creating buildup that blocks future moisture absorption.
Matching conditioner weight to curl type and porosity
The table below maps conditioner type to curl pattern and porosity level.
| Curl type | Porosity | Best conditioner weight | Format |
|---|---|---|---|
| Type 2 (wavy) | Low to medium | Lightweight, water-based | Rinse-out or light leave-in |
| Type 3 (curly) | Medium | Medium weight, moisturizing | Rinse-out plus leave-in |
| Type 4 (coily) | High | Rich, creamy, protein-boosted | Deep conditioner plus leave-in |
Pro Tip: Layer a leave-in conditioner over your rinse-out while hair is still dripping wet. The water acts as a carrier and pushes the leave-in deeper into the shaft.
What is the step-by-step conditioning routine by curl type?
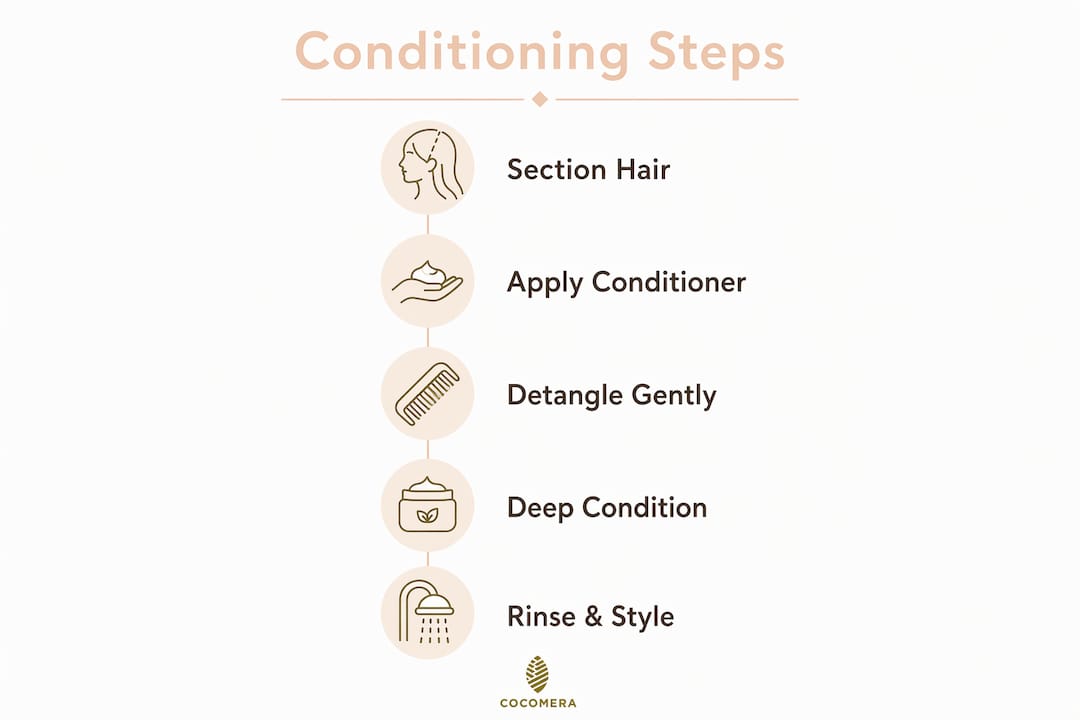
A structured conditioning routine removes guesswork and produces consistent results. The steps below apply across curl types, with frequency and timing adjusted per pattern.
Conditioning frequency by curl type
Deep conditioning frequency should be matched to your curl type. Type 2 hair benefits from a deep treatment every 2–4 weeks. Type 3 curls need weekly deep conditioning to stay hydrated and defined. Type 4 coils require deep conditioning 1–2 times per week because their tight structure makes moisture retention the hardest.
That frequency gap between Type 2 and Type 4 is significant. It means a Type 4 person who follows a Type 2 schedule will almost always deal with dryness, breakage, and poor definition.
Step-by-step application process
-
Shampoo first. Use a sulfate-free cleanser to remove buildup without stripping moisture. This prepares the cuticle to receive conditioning ingredients.
-
Apply conditioner to soaking-wet hair. Water on the hair helps dilute and distribute the product evenly from root to tip.
-
Use the squish to condish method. This technique forces conditioner into the curl by cupping sections of hair and squeezing upward repeatedly. It increases hydration deep into the cuticle and encourages curl clumping.
-
Apply heat for deep treatments. A microwavable heat cap or warm towel opens the cuticle for better ingredient penetration. Heat application is especially effective for low porosity hair that resists product absorption.
-
Leave the treatment on for 20–30 minutes. Deep treatments left on for this duration deliver the best results. Going longer does not improve outcomes and risks hygral fatigue, where repeated swelling of the hair shaft weakens it over time.
-
Rinse with cool water. Cool water closes the cuticle after treatment, sealing moisture in and adding shine.
-
Apply leave-in while hair is still wet. Do not dry hair before adding leave-in. Wet application locks in the moisture from your rinse-out step.
Pro Tip: Divide hair into four sections before applying a deep conditioner. Sectioning ensures every strand gets full coverage, especially at the back where product often gets missed.
Timing reference by curl type
| Curl type | Deep conditioning frequency | Treatment duration | Heat recommended |
|---|---|---|---|
| Type 2 | Every 2–4 weeks | 20–30 minutes | Optional |
| Type 3 | Weekly | 20–30 minutes | Yes |
| Type 4 | 1–2 times per week | 20–30 minutes | Yes |
What are the most common conditioning mistakes for curly hair?
Most conditioning problems come from applying the wrong amount of product or ignoring how moisture accumulates across the full wash day. These are the errors that show up most often.
-
Over-conditioning. Excess moisture causes limp curls that lose their shape by midday. If your curls feel soft but fall flat, reduce conditioner quantity or frequency before adding more product.
-
Skipping clarifying washes. Product buildup blocks moisture from reaching the hair shaft. A clarifying shampoo every 4–6 weeks resets the slate and lets your conditioner actually work.
-
Conditioning on dry or damp hair. Conditioner applied to dry hair sits on the surface rather than penetrating. Always start with fully wet hair.
-
Touching hair while it dries. Handling curls during drying disrupts the curl pattern and causes frizz. Apply products, set your curls, and leave them alone until fully dry.
-
Following a rigid schedule instead of reading your hair. Conditioning mistakes often come from sticking to a fixed routine when your hair is telling you something different. Dry weather, heat styling, and color treatments all call for more frequent conditioning.
Conditioning is cumulative. Every product you apply from shampoo to styler adds to your total moisture load. Ignoring that balance leads to poor curl definition and reduced hold by the end of the day.
How do you build conditioning into a full curl care routine?
Conditioning does not exist in isolation. It works as part of a sequence that runs from cleansing through styling, and each step affects the next.
-
Start with a sulfate-free shampoo. This sets the moisture baseline. A harsh shampoo strips so much oil that no conditioner can fully compensate.
-
Follow with rinse-out conditioner. This is your primary hydration step. Use the squish to condish method and rinse with cool water.
-
Add a leave-in conditioner immediately after rinsing. Leave-ins extend the moisture from your rinse-out and prep hair for styling products.
-
Layer hold products over moisture. Gels and curl creams provide the structure that keeps curls defined. Moisture-hold balance is the framework here: too much moisture without hold means curls collapse; too much hold without moisture means crunchy, brittle results.
-
Adjust seasonally. Cold, dry winters pull moisture from hair faster. Increase deep conditioning frequency in winter and reduce it in humid summer months when hair retains more moisture naturally.
Pro Tip: If your curls look great on wash day but fall apart by day two, the problem is usually not enough hold product, not too little conditioner. Add a light-hold gel over your leave-in before diffusing.
Deep conditioning for Type 3 and Type 4 curls is one of the highest-return habits in any curl care routine. Consistency over weeks produces noticeably stronger, more defined results than any single product switch.
Cocomera’s take on conditioning and curl health
Conditioning routines get overcomplicated fast. People collect products, follow elaborate multi-step systems, and still end up with dry, undefined curls. The real issue is almost never the product. It is the technique and the sequencing.
The moisture-hold balance concept changed how we think about curl care at Cocomera. Once you understand that every product you apply adds to a cumulative moisture load, you stop asking “which conditioner is best?” and start asking “how much moisture does my hair actually need today?” That shift produces better results than any product upgrade.
We have also seen that technique matters more than most people expect. Applying products to soaking-wet hair and leaving curls completely alone while they dry are two habits that consistently outperform expensive product swaps. They cost nothing and work immediately.
The other thing worth saying: consistency beats perfection. A simple routine done every week produces healthier curls than an elaborate routine done once a month. Start with the basics, get them right, and add complexity only when your hair asks for it.
— Cocomera
Products to support your conditioning routine at Cocomera
Finding the right products for your curl type and porosity does not have to mean hours of research across dozens of websites.
Cocomera curates deep conditioning treatments and curl styling products specifically for Type 2, 3, and 4 hair. Every product in the collection is selected with textured hair in mind, covering rinse-out conditioners, leave-ins, and hold products that work together as a system. You can also find leave-in styling options that layer cleanly over deep treatments without causing buildup. Whether your hair is fine and wavy or dense and coily, the range covers the full spectrum of conditioning needs in one place.
FAQ
How often should I deep condition my curls?
Deep conditioning frequency depends on your curl type: every 2–4 weeks for Type 2, weekly for Type 3, and 1–2 times per week for Type 4.
What does the squish to condish method do?
The squish to condish method forces conditioner into the curl by squeezing hair upward while wet, which increases hydration and encourages curl clumping for better definition.
Why do my curls go limp after conditioning?
Limp curls after conditioning are a sign of over-conditioning. Excess moisture prevents styling gels from holding curl shape, so reduce conditioner quantity and add a clarifying wash to reset.
Should I use heat when deep conditioning?
Heat opens the cuticle for better ingredient penetration and is especially useful for low porosity hair. A heat cap or warm towel used for 20–30 minutes delivers the best results without risking hygral fatigue.
What ingredients should I look for in a conditioner for curly hair?
Look for high-slip ingredients like marshmallow root that support detangling without damage, and avoid harsh sulfates, drying alcohols, and heavy waxes that cause buildup.
Key takeaways
The most effective conditioning process for curl types combines the right frequency, the right product weight, and the squish to condish technique, all balanced against your hair’s total moisture load.
| Point | Details |
|---|---|
| Match frequency to curl type | Type 2 conditions every 2–4 weeks; Type 3 weekly; Type 4 up to twice weekly. |
| Test porosity before buying products | Porosity determines whether you need lightweight or rich conditioners and whether heat is necessary. |
| Use squish to condish | Squeezing conditioner into wet curls increases penetration and improves curl clumping. |
| Balance moisture with hold | Too much conditioning without hold products causes curls to collapse by day’s end. |
| Clarify regularly | Buildup from conditioning products blocks moisture absorption; clarify every 4–6 weeks to reset. |


