



A four-stage wash day routine—cleanse, condition, style, and dry—produces hydrated, defined curls when done consistently. Proper preparation, tools, and product sequencing prevent frizz, build-up, and shape issues for all curl types. Maintaining technique and routine over perfection helps curls look their best over time.
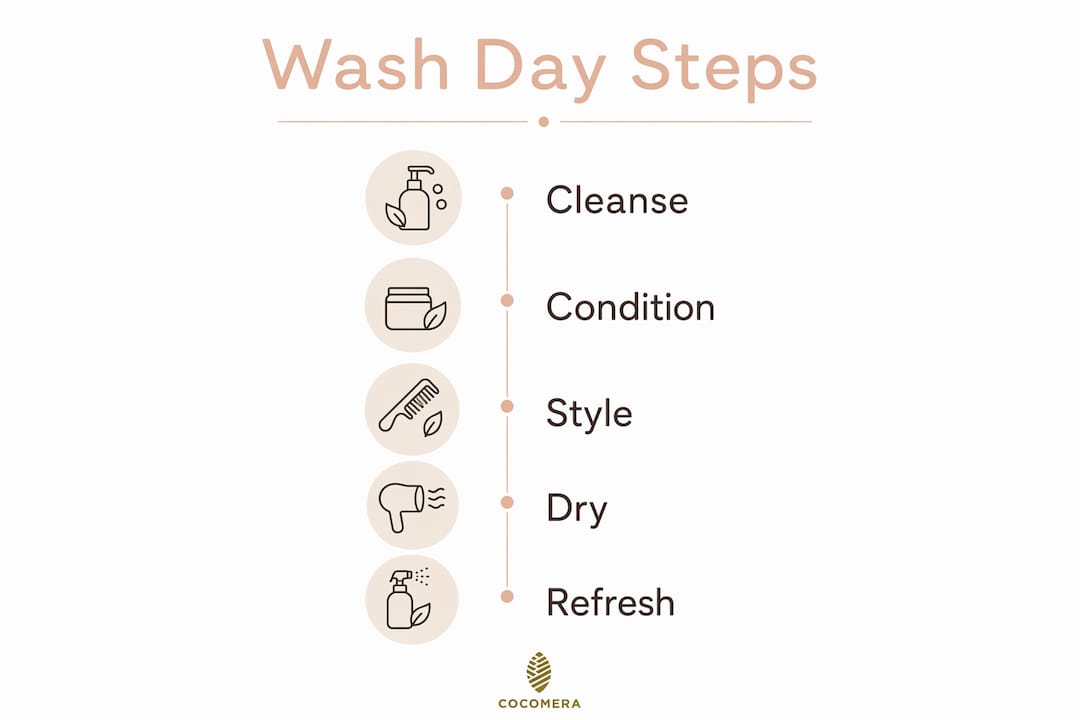
Your wash day workflow for curls comes down to four stages: Cleanse → Condition → Style (on soaking-wet hair) → Dry (no-touch). Done consistently, this sequence takes from half an hour to an hour and a half and produces defined, hydrated curls that last
-
Cleanse: Co-wash or sulfate-free shampoo for regular weeks; clarifying shampoo every few washes to reset
-
Condition + detangle: Apply conditioner generously, detangle ends-to-roots with a wide-tooth comb while hair is slick
-
Style: Apply leave-in conditioner, curl cream, and gel by section on soaking-wet hair using rake, shingle, or scrunch techniques
-
Dry: Plop with a microfiber towel or cotton T-shirt, then air-dry or diffuse on low heat without touching
Total time: 30–90 minutes depending on length, density, and whether you deep condition. Minimum product checklist: clarifying shampoo, sulfate-free shampoo or co-wash, deep conditioner, leave-in conditioner, curl cream, gel, light oil. Tools: wide-tooth comb, microfiber towel or cotton T-shirt, diffuser, silk bonnet or satin pillowcase.
Table of Contents
What do you need before wash day starts?
Preparation cuts wash-day time and prevents the mid-routine scramble for a missing product. Having everything within arm’s reach before you wet your hair means fewer interruptions and more consistent results.
Tools and why they matter
-
Wide-tooth comb: Detangles without disrupting curl clumps; use only on wet, conditioner-coated hair
-
Microfiber towel or cotton T-shirt: Absorbs water with far less friction than terry cloth, which reduces frizz and protects the cuticle
-
Diffuser: Concentrates airflow around curl clumps instead of blowing them apart; essential for faster drying without frizz
-
Silk bonnet or satin pillowcase: Reduces overnight friction and extends your style by days
-
Sectioning clips: Keep separated sections out of the way during styling; four sections is the standard starting point
Product categories and what each one does
Clarifying shampoo strips silicone and mineral build-up that regular cleansers leave behind. Use it sparingly, not weekly.
Sulfate-free shampoo or co-wash handles regular cleansing without stripping natural oils. Co-wash (conditioner-based cleansing) suits drier, tighter curl patterns especially well.

Deep conditioner or hair mask delivers intensive moisture and protein repair. Schedule it every one to two weeks, or any time your ends feel brittle. Deep conditioning is one of the highest-return steps in any curly hair wash routine.
Leave-in conditioner is the first styling layer, applied to soaking-wet hair to lock in moisture before heavier products go on.
Curl cream or curl activator adds definition and softness. Lighter creams suit wavy hair; richer formulas work better for coily textures.
Gel creates a protective cast that shields curls from frizz as they dry. You scrunch it out once hair is fully dry.
Light oil seals the cuticle after styling and adds shine. A few drops go a long way.
Pro Tip: Stock one or two travel-sized versions of your leave-in and curl cream for quick refresh days. Spritz, apply a pea-sized amount of each, scrunch, and go — no full wash needed.
What does the step-by-step wash day workflow look like?
This is the full sequence. Follow it in order and you will not need to guess what comes next.
-
Pre-poo (optional, 15–30 min): Apply a lightweight oil or conditioner to dry hair before wetting. This protects strands during cleansing and makes detangling easier. Low-porosity hair does well with jojoba or grapeseed oil; high-porosity hair benefits from heavier options like castor oil.
-
Cleanse (5–10 min): Wet hair thoroughly with lukewarm water. Apply your chosen cleanser primarily to the scalp and massage with fingertips using circular motions. Let the rinse water carry product through the lengths. Hot water opens the cuticle too aggressively, so rinse with cool water to seal moisture in.
-
In-shower detangle (10–20 min): Apply conditioner generously to mid-lengths and ends. Detangle only when hair is wet and coated with conditioner — never dry. Start at the ends, work up to the mid-lengths, then the roots. Use a wide-tooth comb or your fingers with light, consistent pressure.
-
Deep condition when scheduled: After detangling, apply a deep conditioner or hair mask from mid-lengths to ends. Cover with a shower cap. Add gentle heat from a thermal cap if available, especially for low-porosity hair that resists moisture absorption.
-
Rinse and blot (2–5 min): Rinse out most of the conditioner with cool water. Blot (never rub) with a microfiber towel or cotton T-shirt to remove excess water while keeping hair soaking wet for styling.
-
Apply leave-in by section (5–10 min): Divide hair into four sections. Working one section at a time, apply leave-in conditioner using praying hands (smooth product between palms and press along the hair shaft) for even coverage.
-
Apply curl cream and/or activator (5–10 min): Still working section by section, use the rake technique (spread fingers wide and pull product through from root to tip) or shingling (coat each small curl individually from root to tip) for maximum definition. Shingling takes longer but gives the most precise results for tighter curl patterns.
-
Apply gel (3–5 min): Scrunch gel into each section from ends upward. Applying on soaking-wet hair gives the best definition because wet hair allows curls to clump naturally before the gel cast sets.
-
Style, clump, and set: Do a final scrunch on each section to encourage clumping. Do not touch again until fully dry.
When to use shampoo vs. co-wash vs. clarifying shampoo
| Cleanser type | Purpose | Frequency | Best for |
|---|---|---|---|
| Clarifying shampoo | Removes silicone, mineral, and product build-up | Occasionally, when curls feel heavy or limp | All curl types periodically |
| Sulfate-free shampoo | Regular cleansing without stripping natural oils | As needed based on scalp and hair type | Wavy to curly (2A–3C) |
| Co-wash | Gentle cleansing with conditioner-based formula | Between shampoo washes or as needed | Dry, coily textures (3C–4C) |
How do you adapt the routine for wavy, curly, and coily hair?
The four-stage structure stays the same across all curl types. What changes is product weight, how much you use, and how aggressively you detangle. The key adaptation priorities are water retention, product richness, and drying preference.
| Curl type | Cleanser frequency | Conditioner richness | Styling product weight | Detangling method | Drying preference |
|---|---|---|---|---|---|
| Wavy (2A–2C) | Every 2–4 days | Lightweight, rinse-out | Light cream or mousse | Fingers or wide-tooth comb | Air-dry or brief diffuse |
| Curly (3A–3C) | Every 4–7 days | Medium-weight, rinse-out or leave-in | Curl cream + gel | Wide-tooth comb in shower | Diffuse or air-dry |
| Coily (4A–4C) | Weekly or co-wash between | Rich, creamy deep conditioner | Heavy cream + gel | Finger detangle first, then comb | Diffuse on low heat |
Washing frequency should track your scalp’s oiliness, not the calendar. Alternating co-wash and gentle shampoo keeps lengths hydrated while maintaining a clean scalp.
Porosity matters too. Low-porosity hair (cuticle lies flat, resists moisture) benefits from lighter products and heat during deep conditioning to open the cuticle. High-porosity hair (cuticle is raised, absorbs and loses moisture fast) needs richer leave-ins and a sealing oil applied last to lock hydration in.
For product amounts: wavy hair typically needs a dime-sized amount of cream per section; coily hair may need a quarter-sized amount or more per section to achieve full coverage. When in doubt, add more water rather than more product — wet hair distributes product more evenly and reduces the risk of build-up.
How do you dry curls without losing definition?
The single most important drying rule: do not touch your curls while they are drying. Every time you handle wet curls, you break apart the clumps forming at the surface and introduce frizz. Set them and leave them.
Air-dry vs. diffuser
Air-drying takes 2–8 hours depending on density and length. It suits definition-focused styles and low-manipulation preferences. The downside is prolonged wet time, which can cause scalp issues if you air-dry frequently in cold or humid conditions.
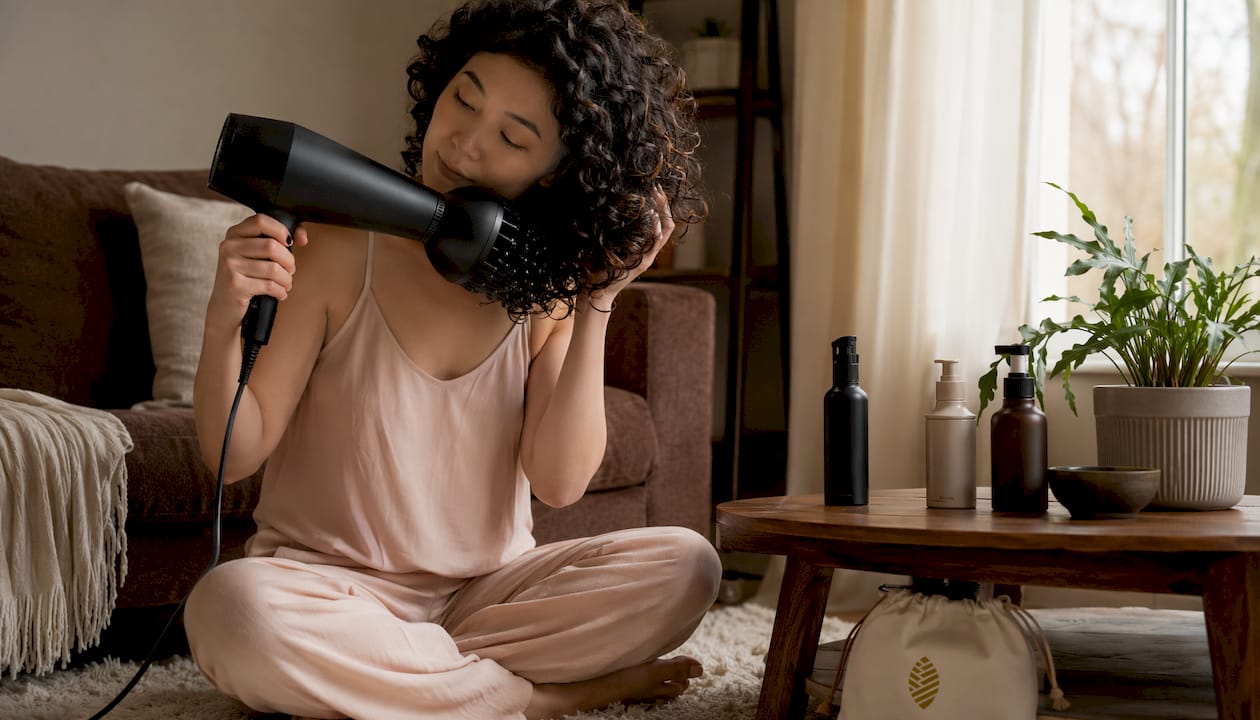
Diffusing cuts drying time significantly and adds volume. Use low heat with higher airflow and a cup-and-lift motion: cup a section of curls in the diffuser bowl, press it toward the scalp, hold for 20–30 seconds, then move to the next section. Keep the dryer moving. For more detail on technique and when to choose each method, the diffuser guide at Cocomera covers both options thoroughly.
Plopping
Plopping uses a microfiber towel or cotton T-shirt to absorb excess water while curls set in their natural shape. Lay the fabric flat, flip your hair into the center, wrap the fabric around your head, and secure it. Leave it on for 10–20 minutes before diffusing or air-drying. Plopping works especially well for 2A–3B curl types; tighter coils (3C–4C) may find it flattens their roots.
A microfiber towel absorbs water faster than a cotton T-shirt and causes less friction, making it the better choice if you plop regularly.
Scrunch-out of the cast (SOTC)
Gel creates a crunchy cast as it dries. That cast is protecting your curls — do not break it early. Once hair is 100% dry, apply a few drops of lightweight oil to your palms and gently scrunch upward. The cast breaks and reveals soft, defined curls underneath.
Pro Tip: Finish your diffuse session with a 30-second cool shot on each section. The cold air sets the cast and closes the cuticle, which noticeably reduces frizz without deflating volume.
Finishing checklist:
-
Apply 2–3 drops of hair oil to palms and scrunch through for shine
-
Sleep on a silk or satin pillowcase, or use a silk bonnet
-
Pineapple (loose high ponytail) before bed to preserve volume
How do you refresh curls between wash days?
Most curls do not need a full wash every day. A quick refresh reactivates the products already in your hair and restores definition without stripping moisture.
Water-first reactivation is the foundation of any refresh. Lightly mist hair with water until curls feel damp, then scrunch gently. Water alone often revives day-two curls that just need rehydration.
Two refresh recipes:
Light refresh: Fill a spray bottle with water, add one pump of leave-in conditioner, shake, and mist over hair. Scrunch and air-dry.
Deeper refresh: Mix water and a pea-sized amount of curl cream in your palm, emulsify, and press into any flat or frizzy sections. Scrunch upward and let set.
Overnight protection makes the biggest difference in how long a style lasts. The pineapple method (a loose, high ponytail secured with a satin scrunchie) keeps curls from getting crushed while you sleep. A silk bonnet or satin pillowcase reduces friction and preserves moisture overnight.
When a refresh is not enough: If curls feel sticky, heavy, or limp after refreshing, no amount of water will fix it. That is a sign of product build-up, and the solution is a clarifying wash followed immediately by a deep conditioning treatment. Hard water can compound this problem — mineral deposits from tap water coat the hair shaft and block moisture from penetrating. A shower filter or chelating treatment can help if build-up returns quickly even after clarifying.
How long does wash day actually take?
Most wash days run 30–90 minutes. What pushes you toward the high end: longer hair, high density, deep conditioning, or a clarifying reset. What keeps you closer to 30 minutes: co-washing, skipping the deep condition, and air-drying.
| Stage | Standard time | Fast-track option | Fast-track time |
|---|---|---|---|
| Cleanse | 5–10 min | Co-wash instead of shampoo | 3–5 min |
| Detangle | 10–20 min | Pre-detangle dry before shower | 5–10 min |
| Deep condition | 15–30 min | Skip (do every 1–2 weeks only) | — |
| Styling | 10–20 min | Two sections instead of four | 7–10 min |
| Drying | 30 min–4 hrs | Diffuse on low heat | 20–45 min |
Fast-track full routine: Co-wash + leave-in + air-dry = 30–45 minutes. You trade some definition and longevity for speed, but it is a perfectly valid weekday option.
When to schedule a longer session: any time you are doing a clarifying reset, adding a protein treatment, dealing with significant detangling, or following up color or chemical services. Block at least two hours for those days.
What should you do when your curls are not cooperating?
Diagnosing a bad curl day comes down to two questions: does the problem look like shape and definition, or does it feel like texture (sticky, limp, dry, brittle)? The answer points you toward the fix.
Common problems and fixes:
-
Limp, sticky curls: Almost always product build-up, not dehydration. Limp or sticky curls signal that silicones or heavy oils have coated the hair shaft. Fix: clarifying wash followed by a deep condition.
-
Dry, brittle ends: Insufficient sealing after styling. Fix: richer leave-in applied more generously, followed by a sealing oil on the ends. Consider a clarifying reset if mineral build-up is blocking moisture penetration.
-
Frizzy halo: Too much manipulation during drying, or gel applied to hair that was not wet enough. Fix: apply gel on fully soaking-wet hair, use the no-touch rule while drying, and finish with a cool shot.
-
Flat roots, no volume: Over-conditioning or too much product at the roots. Fix: apply conditioner and styling products from mid-lengths to ends only; keep roots lighter.
-
Dull, coated feel that clarifying does not fix: Likely hard water mineral build-up. Fix: a chelating shampoo (formulated specifically to remove minerals) rather than a standard clarifying shampoo.
Stylists consistently flag moisture balance as the most common error. Too much heavy product or frequent use of silicone-heavy formulas makes curls look limp even when they genuinely need hydration. Before changing your whole routine, run a clarifying reset every 4–6 washes and see if that alone solves the problem.
Pro Tip: Before buying new products, run this four-question diagnostic: (1) When did I last clarify? (2) Am I applying on wet enough hair? (3) Am I touching curls while they dry? (4) Is my water hard? Most bad curl days trace back to one of these four.
Diagnostic checklist:
-
Last clarifying wash was more than 6 washes ago → clarify now
-
Curls feel sticky or heavy → build-up, not dehydration
-
Frizz appears during drying → too much touching or too little gel
-
Products absorb poorly → low porosity or mineral build-up
-
Ends break easily → protein-moisture imbalance, add a protein treatment
Key Takeaways
A consistent four-stage wash day routine — Cleanse, Condition, Style on soaking-wet hair, and Dry without touching — is the foundation of healthy, defined curls across every curl type.
| Point | Details |
|---|---|
| Apply on soaking-wet hair | Styling products distribute evenly and curls clump best when hair is fully saturated, not just damp. |
| Clarify every 4–6 washes | A clarifying reset removes silicone and mineral build-up; always follow with a deep condition to restore moisture. |
| Detangle with conditioner | Work ends-to-roots in the shower with conditioner coating the hair to prevent breakage and preserve curl shape. |
| Sleep on silk every night | A silk bonnet or satin pillowcase reduces friction and extends your style by one to two days. |
| Adapt by curl type | Wavy hair needs lighter products; coily hair needs richer creams and more water per section for full coverage. |
| Shop curated products | Cocomera carries leave-ins, curl creams, gels, hair masks, and accessories selected specifically for textured hair types 2–4. |
Why a consistent wash day routine is the real game
Here is what most wash-day content gets wrong: it treats every bad curl day as a product problem. Buy a new gel, try a different cream, switch your leave-in. The reality is that technique and sequence matter more than any single product. Applying the right products in the wrong order, or on hair that is not wet enough, will underperform every time.
The other thing worth saying plainly: consistency beats perfection. Your curls respond to repetition. A routine you follow every week, even imperfectly, produces better results over time than an elaborate routine you only manage once a month. The four-stage structure in this guide is deliberately simple for that reason.
At Cocomera, the approach to textured hair has always been about removing the guesswork. Not every product works for every curl type, and the difference between a leave-in that weighs your 2C waves down and one that actually defines them comes down to formulation and porosity. Curating products by hair type, rather than listing everything available, is how Cocomera makes it easier to build a routine that actually works for your specific texture.
Find the right products for your wash day at Cocomera
Getting the routine right is half the work. Having the right products for your curl type is the other half.

Cocomera curates styling products for curly hair selected specifically for wavy, curly, coily, and afro textures — leave-in conditioners, curl creams, gels, and oils organized by hair type so you are not guessing which formula suits your pattern. The hair masks collection covers deep conditioning treatments for weekly and reset wash days, and the leave-in range includes lightweight options for wavy hair and richer formulas for coily textures. Accessories including microfiber towels, diffusers, and silk bonnets are stocked alongside the products so you can build a complete kit in one place. Browse the full range at Cocomera and find what fits your curl type.
Useful sources and further reading
The sources below back the recommendations in this guide and offer deeper reading on specific steps.
External sources:
-
How to Take Care of Curly Hair — Healthline: Cleansing frequency, water temperature, and conditioning basics
-
Beginner’s Guide to Curly Hair Care — Curlsmith: Clarifying schedules and in-shower detangling technique
-
Curly Hair Care Routine — Ulta Beauty: Four-stage workflow and product application techniques
-
How to Take Care of Curly Hair — Wella Professionals: Cleansing cycles and scalp-based frequency guidance
-
How to Deal with Hard Water on Curly Hair — Vitaclean: Hard water effects and chelating strategies
Cocomera guides for deeper reading:
-
Curly hair care tips for healthy textured hair: Moisture balance and product application
-
Master your coily hair wash day workflow: Coily-specific techniques and product choices
-
Hair diffusers: what they are and why curls need them: Diffuser technique and heat settings
-
Clarifying textured hair: effective steps for healthy curls: Step-by-step clarifying reset instructions
-
Curly hair accessories guide: Tools including silk bonnets, microfiber towels, and combs


