
Dry, frizzy, breaking strands. If that sounds like a regular Tuesday for your hair, you’re not alone. Women with textured hair types 2, 3, and 4 deal with chronic moisture loss because of how curls and coils are shaped. The problem isn’t that you’re not moisturizing. It’s that moisture escapes almost as fast as you apply it. That missing step is hair sealing. Hair sealing is the process of applying oils or butters after a water-based moisturizer to create a protective barrier that locks in hydration, reduces frizz, and enhances curl definition. In this article, you’ll learn what it is, why it works, and exactly how to do it.
Table of Contents
- What is hair sealing?
- The science of hydration: Why sealing is essential for curly & coily hair
- Sealing methods: Oils, butters, and how to choose the right routine
- Benefits and results: What to expect from consistent sealing
- The truth experts miss: Less is more with hair sealing
- Discover the best in sealing products and care routines
- Frequently asked questions
Key Takeaways
| Point | Details |
|---|---|
| Hair sealing defined | Hair sealing is applying oils or butters after moisturizing to keep hydration locked in for textured hair. |
| Essential for curls | Curly and coily hair types especially need sealing to fight dryness, frizz, and breakage. |
| Choose methods wisely | Select sealing products by your hair’s porosity and texture, adapting as seasons or needs change. |
| Small amounts work | More product isn’t always better—light layers often give the best results with less buildup. |
| Consistent results | Regular sealing improves moisture retention, definition, and overall hair health over time. |
What is hair sealing?
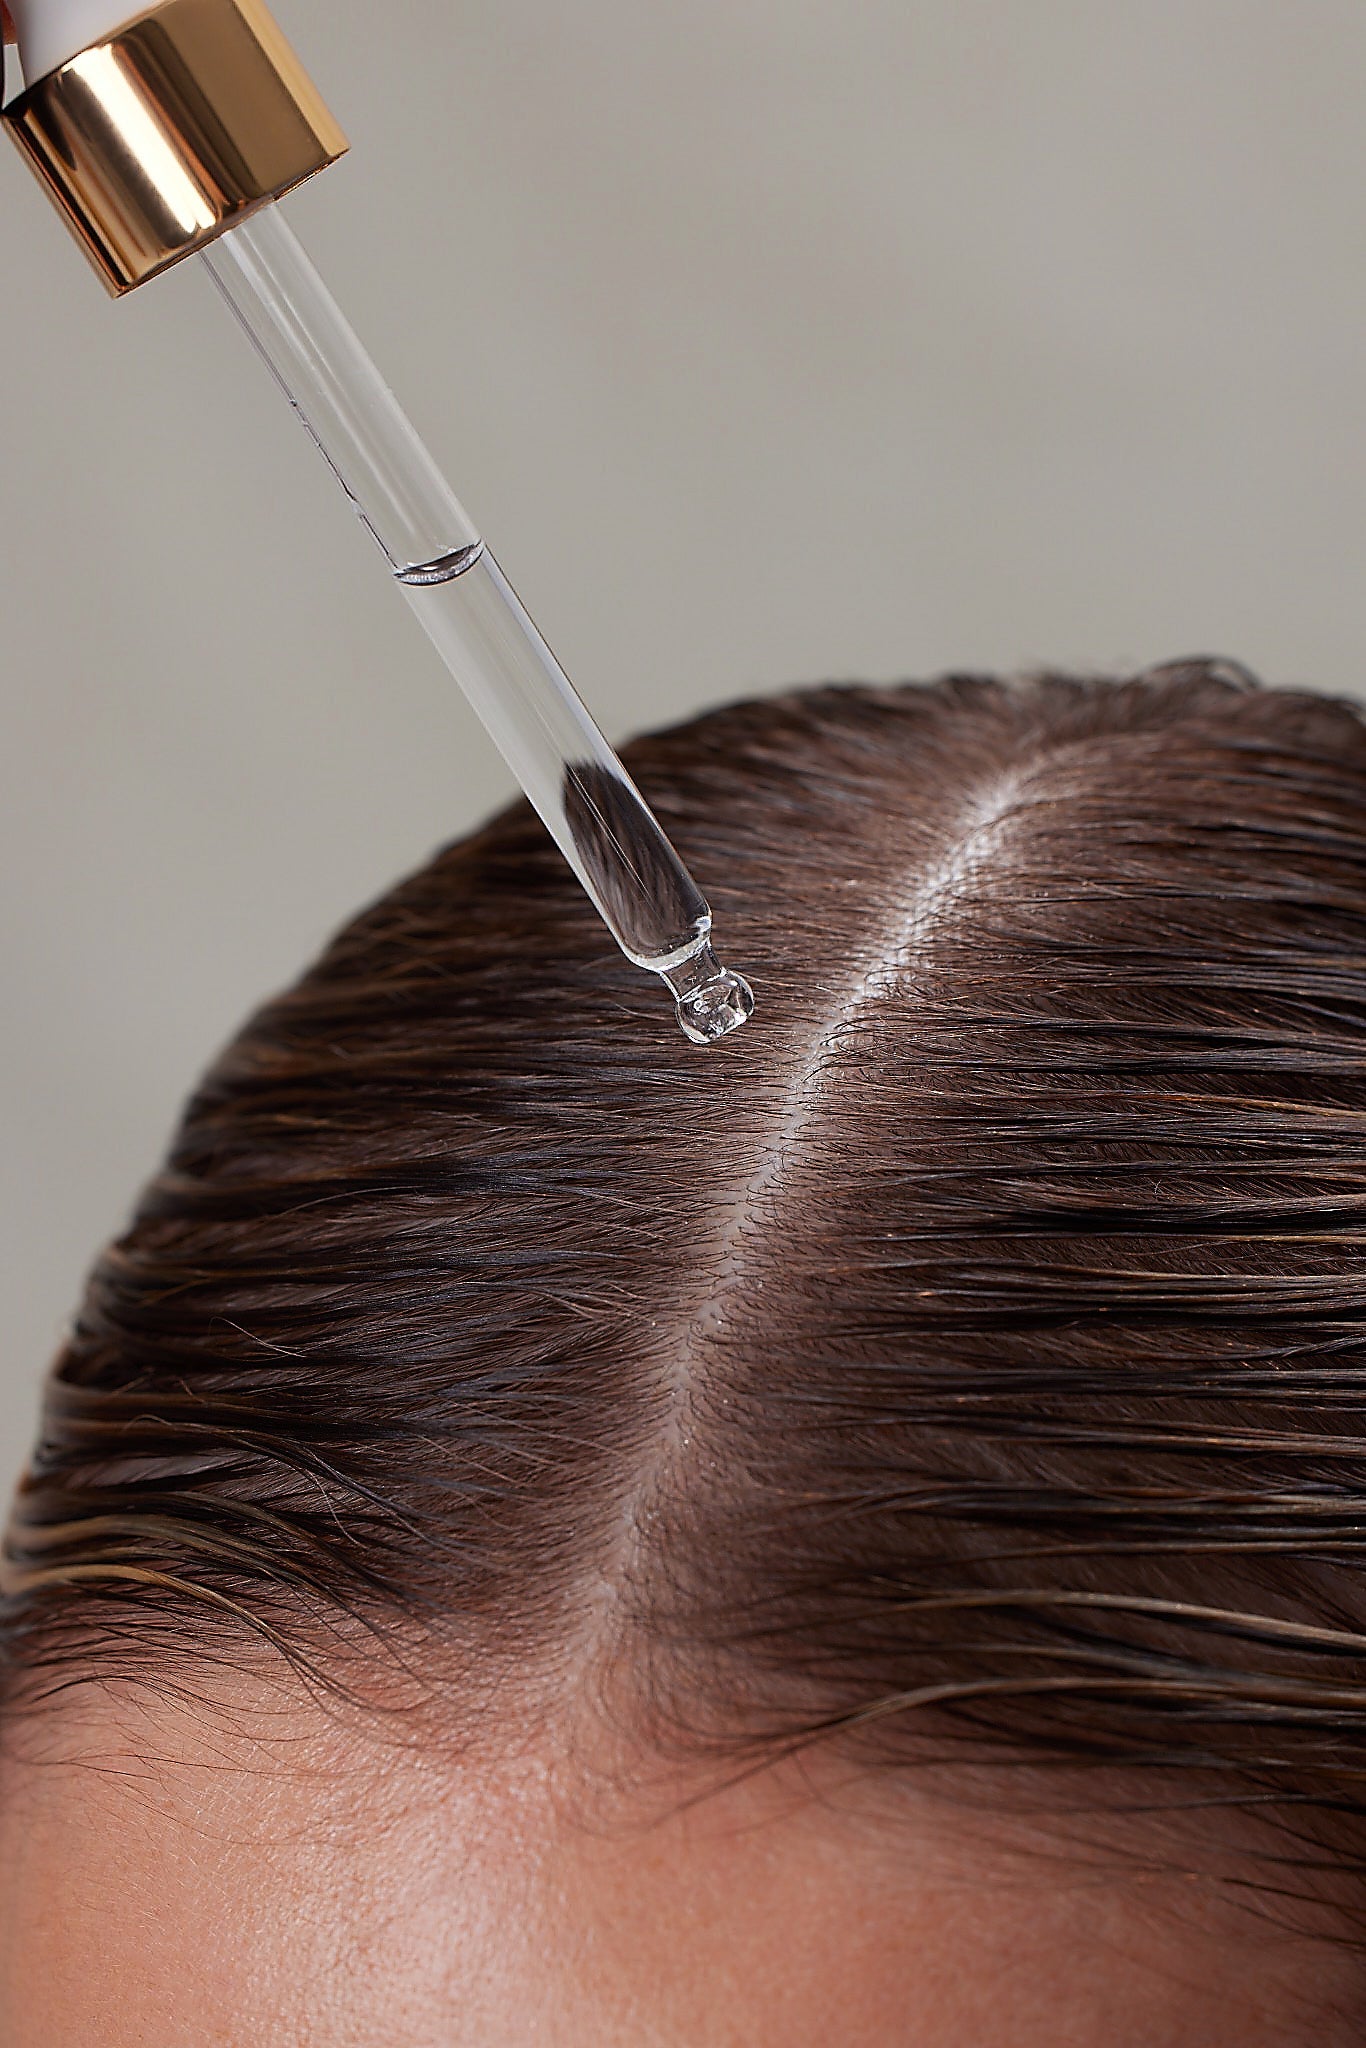
Hair sealing is one of those steps that sounds simple but completely changes how your hair feels and behaves once you add it to your routine. The concept is straightforward: you apply a water-based moisturizer first to hydrate the hair shaft, then follow with an oil or butter to trap that moisture inside. Without the seal, water evaporates from your strands quickly, leaving them dry, dull, and prone to breakage.
For textured hair types 2 through 4, this matters more than you might think. Curly hair care tips consistently highlight one structural reason: the curl pattern itself prevents natural scalp oils (sebum) from traveling down the hair shaft the way it would on straighter hair. The more coiled the pattern, the harder it is for those oils to reach the ends. This means your hair dries out faster and needs a little extra help staying hydrated.
Sealing directly targets these challenges:
- Frizz: When hair is dry, the outer cuticle layer lifts to grab moisture from the air, causing frizz. A sealed strand stays smoother.
- Breakage: Dry, brittle hair snaps. A moisture-rich, sealed strand bends without breaking.
- Lack of definition: Hydrated curls clump together and hold their pattern. Dry curls separate and puff out.
- Dullness: Sealed strands reflect light better, giving your hair visible shine.
“Hair sealing is the process of applying oils or butters after a water-based moisturizer to create a protective barrier that locks in hydration, reduces moisture loss, minimizes frizz, breakage, and enhances shine and curl definition.”
Knowing why moisture matters for textured hair is the foundation. Sealing is just the logical next move once you understand it.
The science of hydration: Why sealing is essential for curly & coily hair
Moisture alone is not a long-term solution for textured hair. To understand why, think about a wet sponge left on the counter. It dries out completely in a matter of hours. Your hair behaves the same way unless something seals that moisture in place.
Hair porosity plays a massive role here. Porosity is how well your hair absorbs and retains water. High-porosity hair soaks up water easily but loses it just as fast. Low-porosity hair resists moisture getting in, but once hydrated, it holds onto it longer. Curl pattern also matters. Type 4 coils have the tightest bends, creating more friction, more surface area to lose water from, and the least natural oil distribution. Type 3 curls sit in the middle. Type 2 waves lose moisture too, just more slowly.
Here’s why this directly affects your sealing strategy:
- Type 2 (wavy): Moderate moisture loss. Lighter oils like argan or jojoba work well.
- Type 3 (curly): Higher moisture loss. Mid-weight oils like sweet almond or grapeseed are effective.
- Type 4 (coily): Highest moisture loss. Heavier sealants like castor oil, shea butter, or mango butter are often needed.
A common myth is that heavier oils are always better because they feel more intense. That’s not accurate. A heavy oil on fine type 2 hair will just weigh strands down and cause buildup. The best ingredients for textured hair are the ones that match your specific hair structure, not just your curl type on paper.
Another myth is that moisturizing daily is enough. It isn’t, because water evaporates. Without a sealant layer, you’re essentially restarting the cycle every time. Styling steps for type 3 and 4 curls always include sealing as a non-negotiable step because the difference in moisture retention is measurable and visible.
Pro Tip: Your hair’s needs change with the seasons. In winter, you may need a heavier butter. In summer, a light oil may be enough. Let your hair tell you what it needs, and don’t be afraid to switch it up.
Sealing methods: Oils, butters, and how to choose the right routine
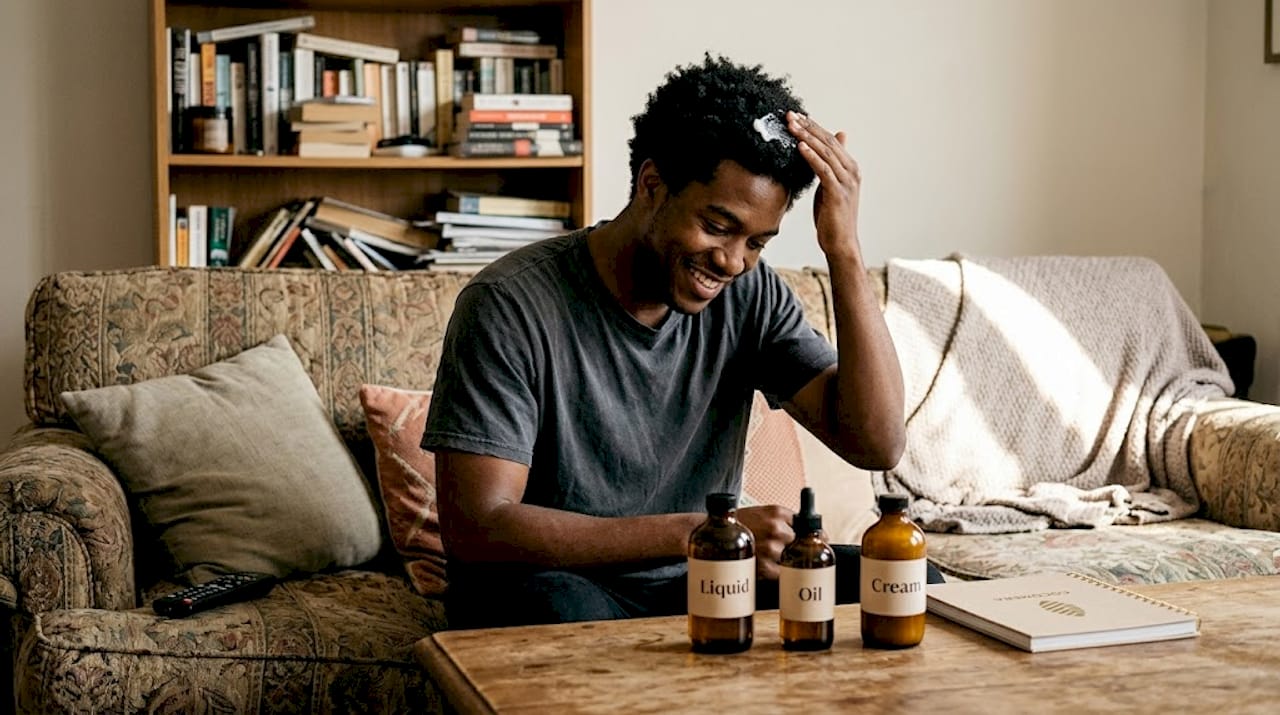
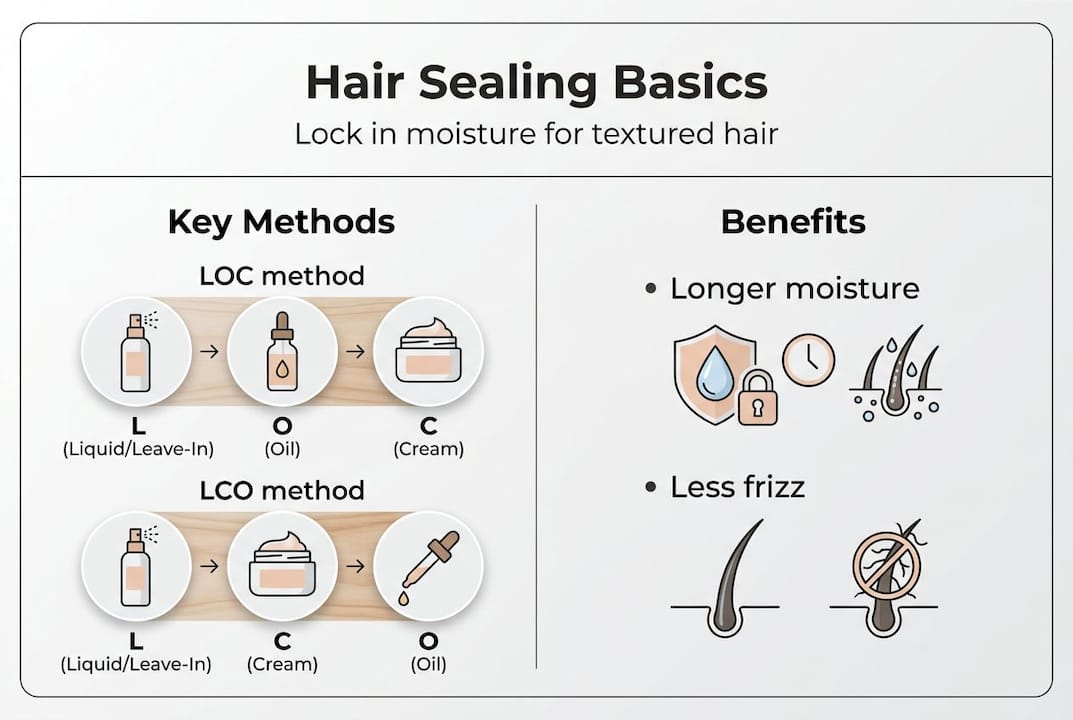
The most widely used sealing method in the textured hair community is called the LOC or LCO method. LOC stands for Liquid, Oil, Cream. LCO switches the oil and cream. Both approaches start with a water-based product and end with something heavier to lock everything in. The order you choose often depends on your porosity.
High-porosity hair tends to do better with LOC because the oil sits between the water and cream, slowing moisture release. Low-porosity hair often responds better to LCO because the lighter cream helps the water absorb before the oil seals it in. That distinction makes a real difference in results.
Here’s a quick comparison of common sealing products:
| Sealant | Texture | Absorption | Best for |
|---|---|---|---|
| Argan oil | Light | Fast | Type 2, low porosity |
| Jojoba oil | Light | Fast | Type 2 and 3, any porosity |
| Sweet almond oil | Medium | Moderate | Type 3, medium porosity |
| Castor oil | Heavy | Slow | Type 4, high porosity |
| Shea butter | Very heavy | Slow | Type 4, high porosity |
| Mango butter | Heavy | Moderate | Type 3 and 4, high porosity |
For a solid sealing routine that actually works, follow these steps:
- Start with damp hair. Apply your water-based leave-in or moisturizer to freshly washed, damp strands.
- Section your hair. Work in small sections to make sure every strand gets product.
- Apply your sealant. Use a small amount of oil or butter. Warm it between your palms first.
- Smooth it over each section. Work from roots to ends, or ends first if your ends are drier.
- Style as usual. Your curl cream or gel goes on top if you’re using one.
The guide on pure oils and butters for textured hair is a great place to look when choosing your sealant. If you’re dealing with breakage on top of dryness, learning how to minimize breakage alongside sealing makes a big difference.
Pro Tip: Use lighter oils like argan or jojoba if you have fine or looser curls. Save the thick butters for your coiliest, densest sections.
Benefits and results: What to expect from consistent sealing
Results from hair sealing don’t always show up overnight. Give it two to four wash days before judging whether it’s working. Your hair needs time to adjust, and you may need to tweak your product amounts.
Here’s what consistent sealing actually delivers:
- Less frizz between wash days
- Softer, more pliable strands
- Fewer single-strand knots
- Stronger ends with less snapping
- More defined curl and coil patterns
- Noticeable shine even on day 3 or 4
A before-and-after snapshot of what changes:
| Attribute | Before sealing | After consistent sealing |
|---|---|---|
| Moisture retention | 1 to 2 days | 3 to 5 days |
| Frizz level | High, especially mid-week | Low to moderate all week |
| Breakage | Frequent, especially at ends | Significantly reduced |
| Curl definition | Inconsistent | More consistent and bouncy |
| Hair shine | Dull or flat | Visible, healthy-looking sheen |
If results aren’t showing up, troubleshoot these common issues. First, you might be using too much product, which causes buildup and blocks moisture from entering. Second, you might have chosen the wrong oil for your porosity. Third, you may be skipping the water-based step, which means there’s nothing to seal in.
Building a healthy wash day workflow around sealing helps you stay consistent. Pairing it with a complete curly hair routine keeps everything working together. And if curl definition is your goal, tools and products that define and style curls can enhance what sealing starts.
The truth experts miss: Less is more with hair sealing
Here’s something most guides won’t say directly: more product does not mean better sealing. We see it constantly. Women apply thick layers of butter on top of more butter, convinced that intensity equals effectiveness. The result is buildup that blocks moisture from entering the hair at all. It’s the opposite of what you want.
The right amount of sealant for most people is less than a dime-sized amount per section. Start there. If your hair feels greasy or limp, you used too much. If it still feels dry, you may need a heavier product, not more of the same one.
Sealing is also deeply personal. What works for someone with dense type 4 hair won’t necessarily work for someone with fine type 3 curls, even if they follow the same routine exactly. That’s not a flaw in the method. It’s the whole point. Understanding multi-textured routines and how different zones of your hair might need different approaches helps you stop chasing someone else’s results and start building your own.
Discover the best in sealing products and care routines
Ready to put sealing into practice with the right products? At Cocomera, we’ve curated a range of solutions specifically for textured hair types 2, 3, and 4, so you don’t have to guess.
Explore our collection of hair oils for textured hair to find the right sealant for your curl type and porosity. For deep hydration before you seal, our hydrating hair masks help prep the hair for maximum moisture retention. And if your strands need targeted repair alongside better hydration, our nourishing hair treatments work beautifully as part of a sealing routine. Your complete routine, all in one place.
Frequently asked questions
Should I seal my hair every wash day?
Most people with textured hair benefit from sealing every wash day, but frequency can vary depending on your hair type, porosity, and how your routine is structured overall.
What’s the best oil for sealing type 4 hair?
Heavier oils like castor or shea butter work well for type 4 hair because they provide a stronger barrier, especially when matched to high-porosity strands that lose moisture quickly.
Can I seal my hair without oils?
Yes. Butters or plant-based creams can also seal your hair effectively if oils feel too heavy, cause buildup, or aren’t compatible with your preferred routine.
How is sealing different from moisturizing?
Moisturizing adds water to your hair. Sealing uses oils or butters to lock that water in so it doesn’t evaporate throughout the day.
Is hair sealing necessary for low-porosity hair?
Low-porosity hair can still benefit from light sealing, but avoid heavy products. Matching sealing techniques to your porosity level prevents buildup while still protecting moisture retention.


